SidecarJohn
Main menu:
Converting the K Three
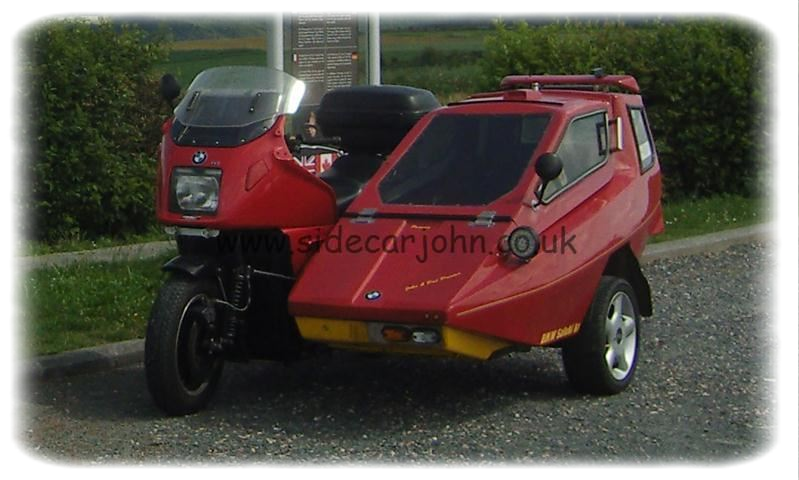
A new front look after the latest amendments
There have been two ongoing issues with the K, both concerned with suspension. Firstly, too soft rear suspension, amplified by the changes to the swinging arm, and secondly a general dissatisfaction with the front fork arrangement.
A longer swinging arm had clearly introduced different leverage factors that compromised the existing suspension unit. Much pondering over theories, catalogues, and requesting help on motorcycle forums helped a little, but the unique nature of our particular set up meant my amateur calculations tended to lead to confusion. Even when something appeared reasonable it was still obvious that the fine art ofsuck it and see was going to be necessary. However, the Yorkshire ethos of not wishing to spend unnecessarily couldn't be ignored.
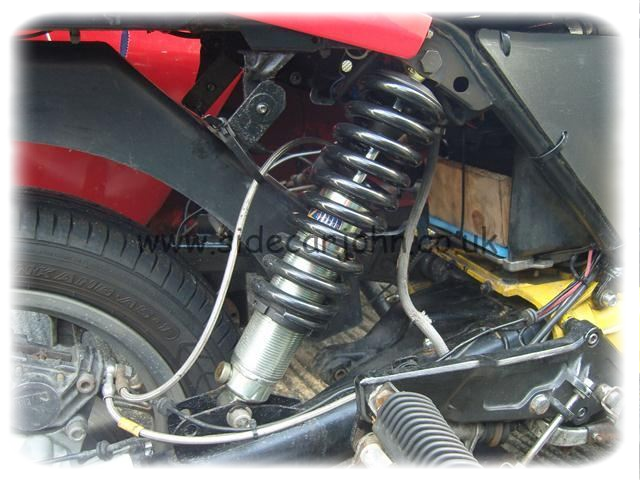
Bigger, better suspension unit, but must tidy things up
Fortunately, I was destined to be introduced to David at www.dampertech.co.uk, who provided invaluable guidance, direction, and ultimately a unit that really worked. The suck it and see element was covered by a unit with 30 damper adjustments, and a larger diameter spring. A couple of alternative springs were provided temporarily in case the fitted one didn't perform as required. Suffice to say that a variety of riding situations for over 2,000 miles has ticked all the right boxes without need to use the alternative springs provided. Well happy.
The original leading link forks had always performed reasonably fairly well suspension wise. However, there had always been concerns regarding over complication ans alignment of the brake caliper carriers, and the overall appearance. I guess I was also less than impressed with a number of obvious alterations that had been undertaken by previous owners. Not condemnation because they would have had their reasons, more a desire to fundamentally improve. Besides, I also had a preference for Wasp leading link forks, having had lengthy experience on two previous sidecar outfits.
Curiously, I had been checking out the idea of purchasing some new Wasp forks, then out of the blue came the option to buy a suitable used set, plus wheels, taken from a BMW K model. The fact that the deal included a pair of Wasp wheels, brake rotors, mudguard, plus brake caliper mounts made it an offer not to be refused. Ultimately, the only additional thing required was a new, tyre for the rear wheel.
Wasp forks and wheel - all round improvement
It wasn't a major task removing the old front end, whilst installing the Wasp set up proved relatively easy. The only real thought was to sort out the mounting of a magnet on the front wheel as a trigger for the bicycle speedo pick up. Hardly a major issue. In due course, a sidecar friend took on the job lot of what was removed for one of his own projects.
The only thing of significance was to produce a spacer to realign the new Wasp rear wheel. An engineer friend did the necessary lathe work to machine an accurate ring, whilst a local machine shop had the machinery to produce four precisely positioned fitting holes. I already had the necessary extended bolts for the unusual thread size in the BMW bevel box.
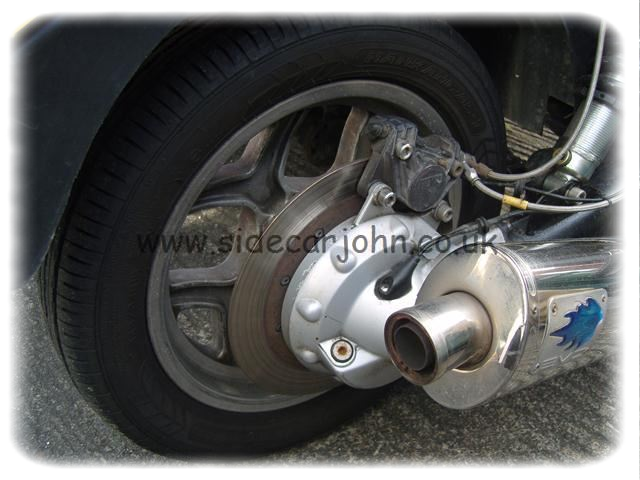
Wasp rear wheel, plus new tyre
A previous amendment, as reported in Converting the K Two, to locate the ignition lock in the fairing left leg panel didn't prove satisfactory. Proximity to the left knee meant that under some circumstances such as hard braking it was possible to catch the key, which turned off the ignition, even if only rarely. The somewhat old switch didn't take kindly to a prod from a knee. Never mind, some would call it research and development.
The ignition switch has now been sited close to its original position atop the top fork yoke. Existing mounting holes and suitably bent threaded rod resolved the issue. Should have done this in the first place rather than all the previous messing around lengthening cables and drilling holes in the fairing side panel.
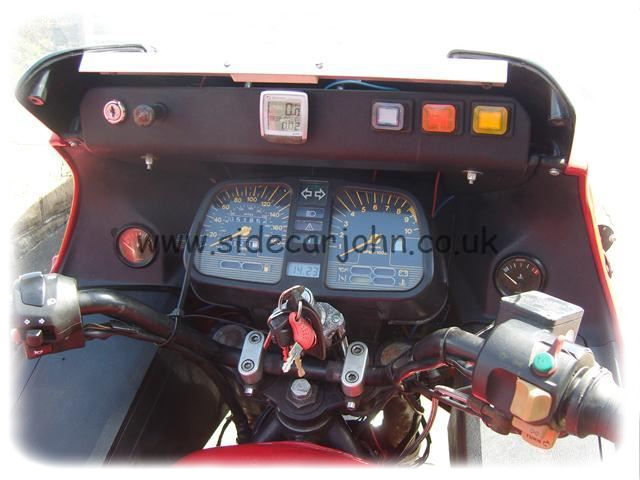
Panel for the extra switches & cycle speedo
Whilst dealing with electrical matters, it was sensible to finally sort switches for a number of lights. This resulted in making a mounting plate for four switches, as well as relocating the cycle speedo. Two switches were already active, that for the cooling fan, plus the running lights. In addition, it was high time to initiate a 4 way hazard arrangement, and a rear fog light. The hazard arrangement was achieved by a simple wiring method courtesy of an internet forum. Useful that there Google.
An original rear hazard light arrangement had existed, but had been long disconnected. A previous owners idea of operating the rear hazard from inside the sidecar seemed slightly questionable. Whatever, there is now a fully operational, very bright, red LED light on the sidecar's tail. There are times when I don't need to feel that those behind cannot see us when conditions are unfavourable.
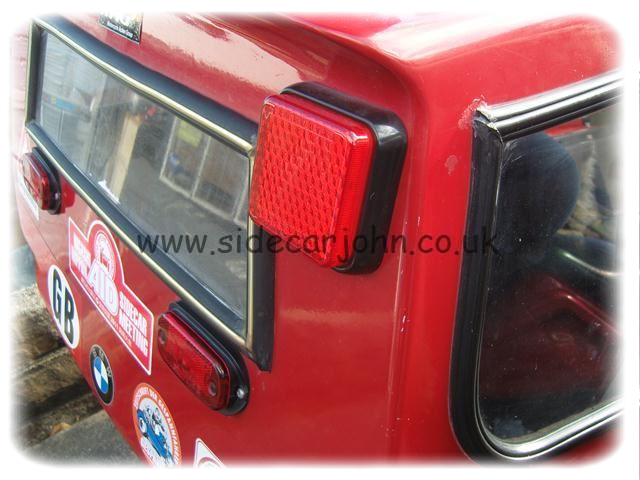
Very effective LED rear hazard light
The LED running lights have been on the outfit for over a year, but I was never fully happy with how I had attached them using the original fairing mirror holes. Obvious yes, but far from tidy with bent angle brackets from a hardware store. So, before setting off for a long trip, hopefully made a better job of mounting them. Their effectiveness has also been improved by having them close together.
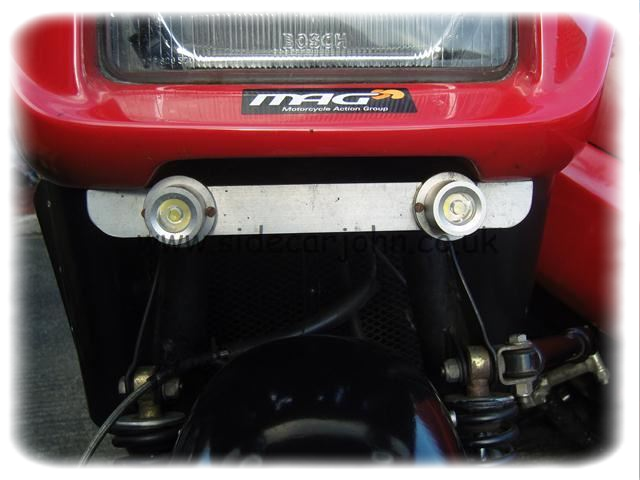
Relocated LED running lights - 6 watts total, yet very obvious
Finally, the original marker spot lamp on the nearside of the sidecar body has been replaced with an LED work lamp usually intended for small trucks. No lengthy beam, just as with the old spot lamp, but an attempt to still identify that the outfit has some width when travelling at night, or in poor light conditions. Time will tell with this one, however, the overall result is that the only light on the entire outfit that is not LED based is the headlight.
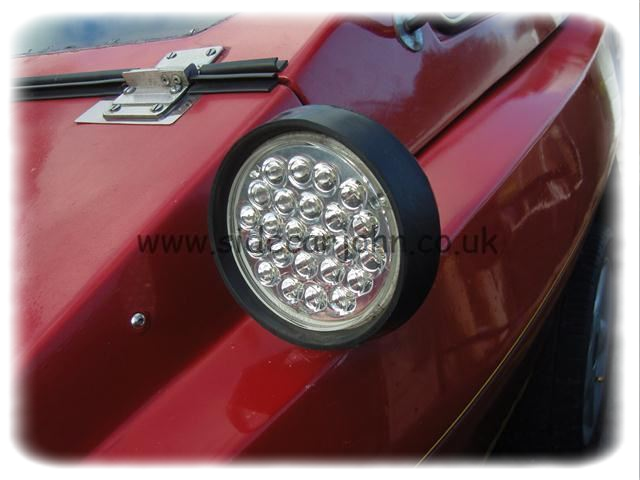
Truck LED work lamp put to another use